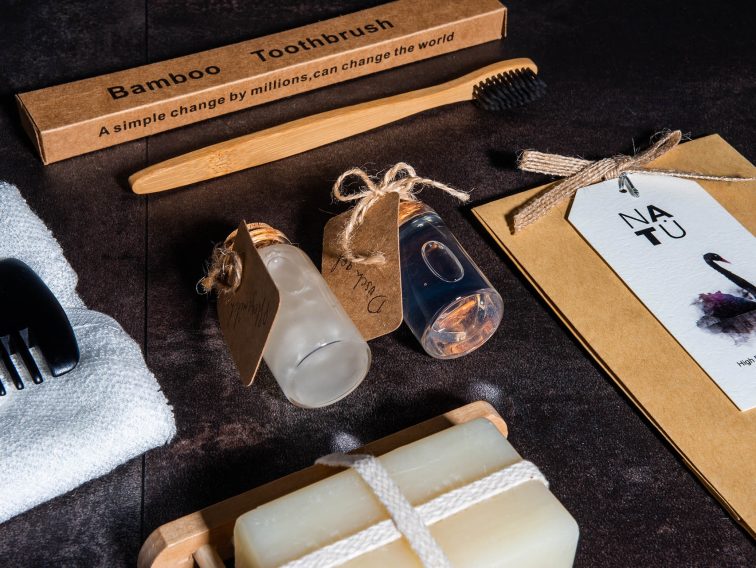
Taking high-quality product photos is essential for any business, but hiring a professional photographer can be expensive. That’s where DIY product photography comes in – it allows beginners to take their own stunning photos without breaking the bank. So, if you’re looking to elevate your product shots and save some money, read on for our ultimate guide to DIY product photography for beginners.
1. Invest in the Right Equipment
The first step to taking great product photos is having the right equipment. While you don’t need to break the bank on fancy cameras and lenses, it’s important to have a decent camera that allows manual control of settings such as ISO, aperture and shutter speed.
2. Choose the Perfect Background
When it comes to backgrounds for your product photos, simplicity is key. A plain white or colored background makes your products stand out and gives a professional-looking finish. You can use a clean piece of fabric or paper as your background – just make sure it’s wrinkle-free.
3.Bring in Some Props
Props can add interest and context to your products’ images while making them more eye-catching at the same time . For example, if you sell skincare products, you could include some flowers or greenery in your photo shoot set-up.
4.Work with Natural Light
Natural light is by far the best source of lighting for still life product photography because it creates soft shadows that make images look more natural . To take advantage of natural light , pick an area with large windows next time you do a photo shoot .
5.Use Reflectors (or Make Your Own)
To enhance natural light sources use reflectors – they bounce back light onto shaded areas ensuring even lighting across all parts – wardrobe mirrors work great!
6.Add Depth with Different Angles
Don’t limit yourself by taking only front-on shots; explore different angles like top-down shots or side angles . Taking multiple angles gives buyers a better understanding of what they’re buying.
7.Watch Your Composition
Consider the rule of thirds when composing your shot , placing your product at the intersection of an imaginary grid on the photo . This creates a visual balance and makes for a more interesting image.
8.Start with Basic Editing
Editing software like Photoshop can make a world of difference to your product photos. Basic editing involves adjusting key factors such as brightness, contrast, and saturation . Just make sure you don’t go overboard as it can make products look fake or unnatural.
9.Consistency is Key
To create a cohesive brand image, aim for consistency in all of your product photos. Use similar backgrounds, props and angles to give continuity to your visuals.
10.Practice Makes Perfect
Photography is an art that takes practice and experimentation. Don’t be afraid to play around with different settings or angles until you find what works best for you and your products .
In conclusion , taking stunning DIY product photos is all about investing in the right equipment, working with natural light , being creative with composition and adding some basic editing touches . With these tips in hand , you’re well on your way to creating eye-catching images that will help boost sales and elevate your brand image. So grab that camera, set up a mini studio in a well-lit area and start snapping away – practice makes perfect after all!


